


Stop Tow Failures: Trailer Breakaway Wiring in 7 Steps
Wire the breakaway system so a dedicated 12V battery feeds the breakaway switch, which is spliced into the trailer’s brake feed (blue), with a grounded battery box and an auxiliary charge line to the 7-way. Verify every connection with a multimeter before you tow. Never treat the breakaway switch as a parking brake, and never test the system with the trailer connector still plugged into the tow vehicle.
TL;DR:
- The breakaway system requires a dedicated 12V battery with proper wiring to ensure full brake engagement during separation, especially on trailers over 3,000 pounds GVW.
- Mount the switch on the trailer tongue ahead of the coupler, facing the rear, and leave enough slack in the cable for sharp turns, attaching it to a dedicated hitch point.
- Connect the switch’s leads to the battery positive and the trailer’s brake feed wire, verifying each with a multimeter before towing to prevent wiring faults.
- Use weatherproof copper connectors, sealed splices, and proper gauge wiring to prevent corrosion and voltage drops that could cause system failure.
- Regularly test the system by pulling the pin with the trailer disconnected from the tow vehicle, checking for immediate brake activation and resistance, and replacing faulty components promptly.
Table of Contents
- What Does Trailer Breakaway Wiring Actually Do?
- Where Should You Mount the Breakaway Switch?
- How Do You Wire a Trailer Breakaway Switch?
- How Do You Wire the Breakaway Battery Box?
- How Do You Test a Trailer Breakaway System?
- Why Isn’t My Breakaway Switch Working? (Common Fixes)
- Is Trailer Breakaway Wiring Legally Required?
- What Parts and Tools Do You Need for the Install?
- How Do Weatherproof Wiring Products Prevent Breakaway Failures?
- An Installer’s Quick Checklist Before You Tow
- The Right Parts Make This Install Foolproof
- Where Can You Find Manufacturer Wiring Diagrams?
- Sources
- FAQ
What Does Trailer Breakaway Wiring Actually Do?
A breakaway system exists for one moment: the trailer separates from the tow vehicle and the electric brakes need to slam on without anyone touching a brake pedal. The pin pulls out of the switch, the circuit closes, and the trailer’s own battery dumps power straight into the brake magnets. No hitch, no chains, no vehicle electrical system involved.
That’s why trailer breakaway wiring has to run independent of the tow vehicle’s power. If the breakaway battery box shares a weak ground or an undersized wire with everything else on the trailer, the brakes may engage weakly or not at all right when it matters most. This isn’t a redundant safety feature bolted on for paperwork. It’s the only thing standing between a runaway trailer and a highway full of traffic.
Most states treat this as a legal minimum, not an option. Breakaway kits are commonly required for trailers over a certain weight threshold usually around three thousand pounds GVW, and the Hopkins Towing installation guidance notes the system only works on trailers that already have functioning electric brakes installed. Check your state’s specific threshold before you assume you’re exempt.
A few things to keep in mind before you touch a wrench:
- The breakaway circuit is separate from your running lights, turn signals, and tail lights.
- It needs its own battery, not a tap off the tow vehicle.
- Wire color coding varies by manufacturer, so don’t assume blue always means brake feed without checking.
- The system only fires the brakes; it does nothing for steering or trailer sway once separation happens.
Where Should You Mount the Breakaway Switch?
Mounting location determines whether your breakaway switch does its job or trips itself on every sharp turn. Get it wrong and you’ll either have a switch that never engages, or one that engages every time you back into a driveway.
Here’s the sequence that avoids both problems:
- Pick the tongue or A-frame, ahead of the coupler. Mount the switch bracket on the trailer tongue where it has a clear, straight line back to the tow vehicle. Avoid spots near moving coupler parts or the jack stand.
- Drill for the bracket, not the switch body. Most breakaway switches bolt to a mounting bracket with two holes. Use a self-tapping screw or a bolt with a lock washer, and don’t overtighten. Cinching the bracket down too hard can pin the plunger and stop it from moving freely when the pin pulls, which is the opposite of what you want from a safety device.
- Orient the pin facing rearward. The plunger needs to face toward the tow vehicle so the cable pulls straight and in a natural line, not at an angle that could work the pin loose from vibration alone.
- Size the cable for turns, not just distance. Leave enough slack for your tightest expected turn radius, but keep it short enough that it pulls free well before your safety chains would ever reach their limit.
- Attach to a dedicated hitch point, never the ball or chains. Most tow vehicles and hitches have a specific loop or clevis for breakaway cable attachment. Using the ball or a safety chain link means the cable could go slack or bind unpredictably during a real separation.
- Secure the cable along its run with clips or loom. Keep it from dragging on the ground or snagging on the frame.
Pro Tip: Give the switch bracket a slight wiggle test after mounting. If the plunger doesn’t move freely with light finger pressure, back off the mounting bolt a quarter turn.
Replace any switch with a cracked plastic housing or a frayed cable immediately. A breakaway switch is cheap. A trailer that doesn’t stop is not.
How Do You Wire a Trailer Breakaway Switch?
This is the core of trailer breakaway wiring, and it’s less intimidating than it looks once you understand the loop: battery to switch, switch to brake feed, done.
Before you start, disconnect the trailer’s 7-way connector from the tow vehicle and isolate the battery negative. Working with the circuit live risks a spark near the battery box and can send unwanted voltage back through the tow vehicle’s brake controller.
- Identify your two switch leads. Most breakaway switches are non-polarized, meaning either lead can serve as the battery input side. Check your specific kit’s instructions if yours specifies polarity.
- Connect one lead to battery positive. Use a proper ring terminal crimped tight, not just twisted wire, and cover the connection with a sealed boot or dielectric grease to fight corrosion.
- Splice the other lead into the trailer’s electric brake feed wire. Hopkins’ installation instructions describe splicing the switch’s black wire directly into the trailer’s brake wire, commonly the blue conductor in most trailer wiring harnesses.
- Use waterproof heat-shrink butt connectors or a sealed junction box for every splice. The Mrtruck recommends sealed splices specifically because exposed connectors corrode fast in road spray and salt.
- Match your wire gauge to the run length. 12 AWG is the safer default for minimizing voltage drop over longer trailer frames; 14 AWG is acceptable on shorter runs but pushes your margin thinner.
- Route the new wire alongside the existing trailer harness, secured with clips. Avoid letting it hang loose near the axle, springs, or coupler pivot point where chafing will eventually wear through insulation.
- Verify with a multimeter before buttoning anything up. Confirm continuity from battery positive through the switch, and confirm the splice point is genuinely on the brake feed and not a marker light circuit that happens to share wire color.
Wire color codes aren’t standardized across every manufacturer. CURT’s installation sheet specifically warns installers to verify circuit identity with a multimeter rather than trusting insulation color alone, since fading and mixed harness brands make color a rough guide at best, not a guarantee.
Once the switch side is wired and tested, move to the battery box and charging circuit.
How Do You Wire the Breakaway Battery Box?
The battery box is the power source for the whole system, and it needs two more connections beyond what feeds the switch: a charging line from the tow vehicle and a solid chassis ground.
Battery boxes come in two flavors. Simple boxes just hold the battery and route power to the switch. Charger-equipped boxes add a small onboard charging circuit and often an LED test panel, and according to CURT’s installation documentation, these typically specify a 12V 5Ah gel cell battery with charging behavior topping out around 14V for a full charge.
Here’s what needs to happen at the box, regardless of type:
- Splice the battery box’s red positive lead to the trailer’s 7-way auxiliary 12V+ pin, and put an inline fuse in this line sized to your kit’s instructions.
- Run the white ground wire from the box to bare, unpainted chassis metal. Scrape off paint or rust at the contact point first.
- If you’re dealing with corroded ring terminals from a previous install, swap them for tinned copper terminals and coat the contact surface with dielectric grease before reassembling, especially if the trailer sees salt air or road salt.
- Confirm your tow vehicle’s 7-way actually outputs auxiliary 12V+ on that pin. Some vehicles limit or switch this circuit based on ignition state, so check it with a multimeter rather than assuming.
Pro Tip: A dedicated ground wire run straight to battery negative outperforms a bolted frame connection almost every time, according to the Mrtruck. Paint, rust, and vibration all work against a bolted ground over time, so don’t cheap out on this wire.
Battery life is the part people forget. A small sealed gel cell degrades with age and cold weather use, and it deserves a seasonal voltage check or a maintainer during off-season storage. Most gel and AGM batteries in this application need replacement somewhere in the 3 to 5 year range depending on climate and use, sooner if you store the trailer outside in freezing conditions without a maintainer.
How Do You Test a Trailer Breakaway System?
Testing is where most DIY installs either get validated or exposed. Skip it and you’re towing on faith.
- Disconnect the trailer’s 7-way connector from the tow vehicle first. CURT’s installation sheet includes an explicit caution here: testing with the connector still plugged in risks backfeeding voltage into the tow vehicle’s electric brake controller and damaging it.
- Jack up a wheel, or chock the wheels solidly if you can’t jack it. You need the wheel free to test resistance, but the trailer has to be secured so it can’t roll.
- Pull the breakaway pin by hand. According to Mrtruck, the correct result is immediate wheel resistance or a light humming from the brake magnets engaging, and that resistance should hold for a period of time, not fade out in a few seconds.
- If the wheel spins freely or the resistance dies fast, something’s wrong. That points to a weak battery, a bad splice, or a ground fault, covered in the troubleshooting section below.
- Check battery voltage with a multimeter. A fully charged 12V battery should read around 12.6 volts at rest. Anything noticeably lower suggests it’s time to charge or replace it before your next trip.
- Reset the pin, reconnect the 7-way, and run a full pre-trip check: battery voltage, pin-pull response, cable routing free of snags, and connectors seated and dry.
Do this before every trip that matters, and at minimum once a season even if the trailer sits idle. A breakaway system that hasn’t been tested in a year is a guess, not a safety device.
Why Isn’t My Breakaway Switch Working? (Common Fixes)
Most breakaway failures trace back to one of five things, and none of them require replacing the whole system.
- Dead or weak battery: test voltage under load, not just at rest. A battery that reads fine sitting idle can collapse under the actual draw of the brake magnets. Replace it if it fails a load test or reads well under 12.6V after a full charge.
- Bad ground connection: clean the bolted ground point down to bare metal, or better yet, run a fresh dedicated ground wire straight to the battery box negative terminal instead of trusting an old frame bolt.
- Wrong splice point: if the pin-pull test does nothing, the switch lead may have landed on the wrong wire. Use a multimeter to confirm the splice is genuinely on the brake feed circuit, and relocate it if it isn’t.
- Physical damage to the switch or cable: a frayed cable can jam or snap, and a cracked switch housing lets moisture in. Inspect both regularly and swap the whole switch assembly if you see cracks or corrosion inside the housing.
- Intermittent charging at the battery box: if the battery keeps arriving dead, check the 7-way auxiliary pin output at the tow vehicle, check fuses on both ends, and look for corrosion inside the trailer-side connector pins.
Work through these in order. Battery and ground issues cause the majority of “the breakaway doesn’t work” complaints, and both are cheap, fast fixes compared to swapping switch hardware.
Is Trailer Breakaway Wiring Legally Required?
Most states require a functioning breakaway system on trailers over 3,000 pounds GVW, though the exact threshold and enforcement varies by state, so check your own state’s towing regulations before assuming you’re clear. Trailers under that weight may not need one legally, but wiring one in anyway costs little and adds real protection.
A few cautions worth repeating because they get skipped:
Never use the breakaway switch as a substitute for a parking brake. It’s designed for one job: a hard stop during separation, not holding a parked trailer on a slope. Always disconnect the trailer’s 7-way connector before running a pin-pull test, and always wire in an inline fuse on the charge line sized to your kit’s specification, not a bigger fuse “just in case.”
Route every new wire away from moving coupler parts, the jack stand, and anywhere metal edges could saw through insulation over time. A short circuit at the brake feed doesn’t just kill your breakaway system. It can trip fuses across your entire trailer wiring harness and take out lights along with it. Use quality wiring harness products with pure copper cores rather than aluminum blends, which corrode faster and increase resistance at every connection point.
What Parts and Tools Do You Need for the Install?
Here’s the shopping list that keeps this a one-afternoon job instead of a return trip to the hardware store.
- 12 AWG primary wire for the main runs, 14 AWG acceptable for shorter trailer frames.
- Ring terminals, ideally tinned copper, for every battery connection point.
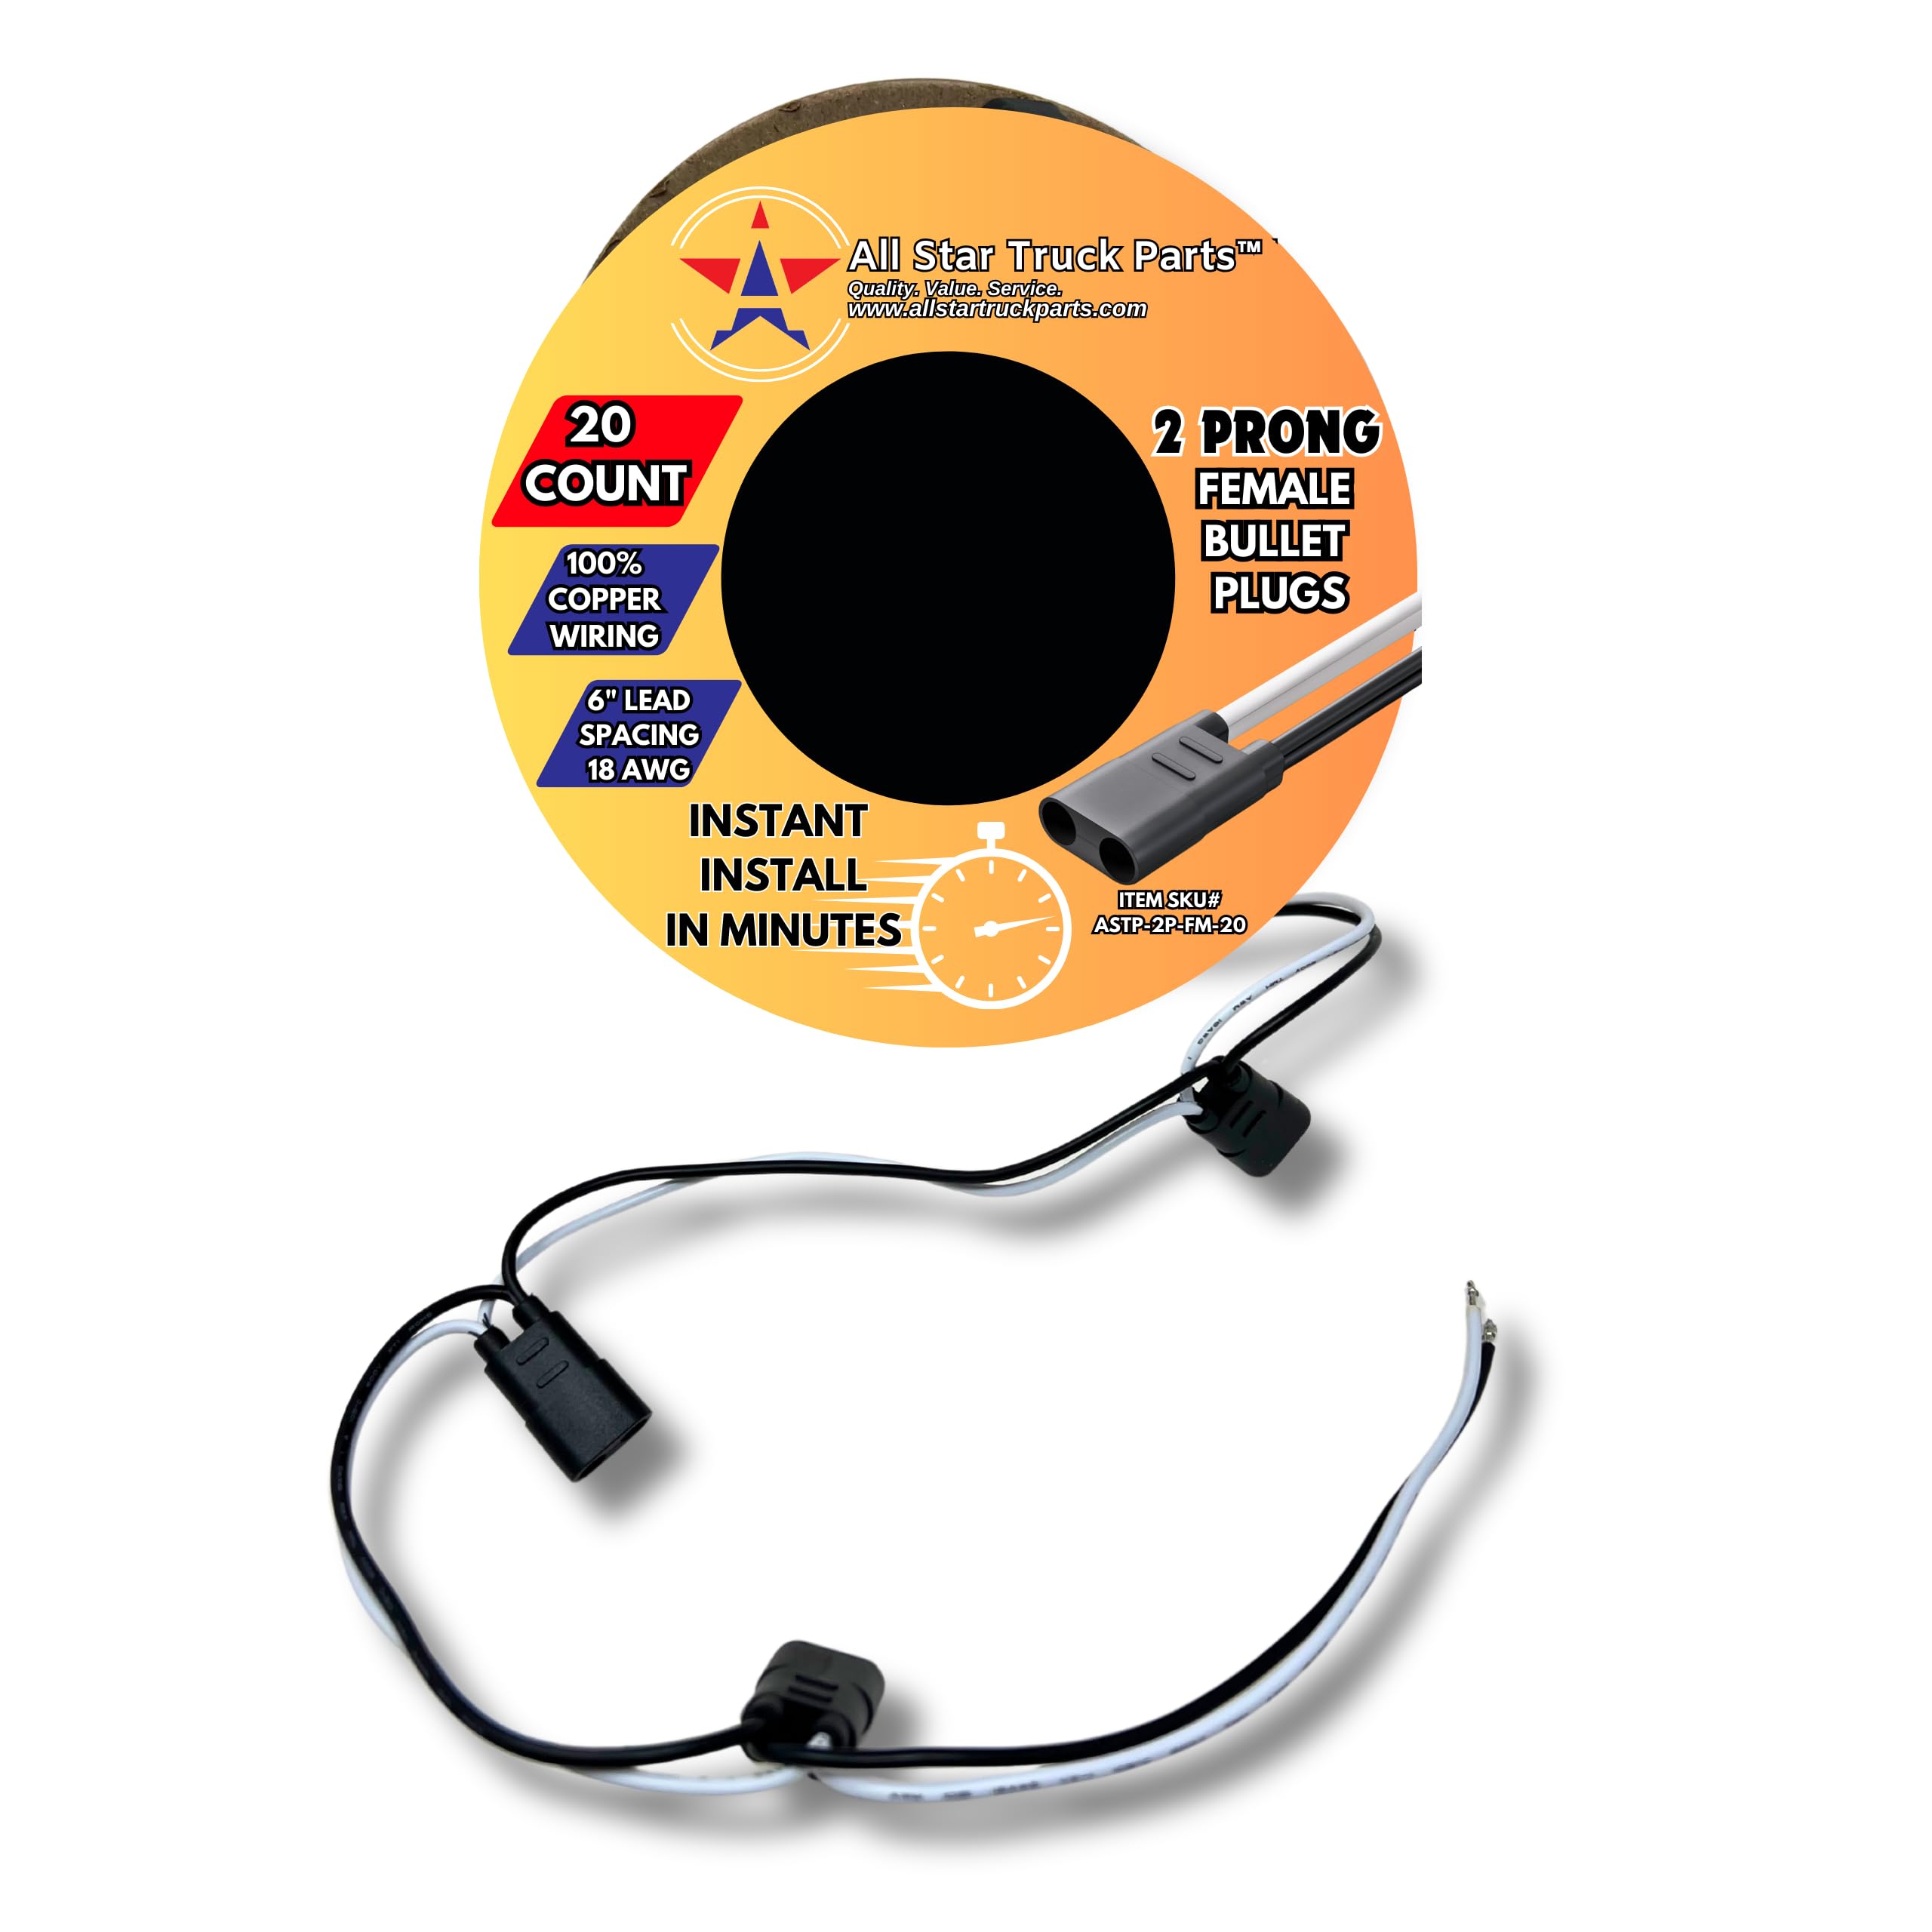
- Sealed heat-shrink butt connectors for every splice exposed to weather. A double female bullet plug connector roll works well for quick, weatherproof splices along the harness.
- A 12V battery, commonly a 5Ah gel cell for standard breakaway boxes.
- Battery box mounting hardware, matched to your tongue or frame width.
- A quality multimeter. This is non-negotiable for verifying splices and battery voltage.
- A proper crimping tool, not pliers, for ring terminals and butt connectors.
- Drill and bit set for the switch bracket and battery box mounts.
- Wire loom or split tubing to protect runs from chafing.
- Zip ties and dielectric grease for securing cable and protecting connections long term.
If you’re rewiring more than just the breakaway circuit, a complete LED trailer light wiring kit covers the rest of the trailer’s lighting circuit at the same time, which is worth doing while everything is already disconnected and accessible.
How Do Weatherproof Wiring Products Prevent Breakaway Failures?
Most of the failures covered in the troubleshooting section trace back to two root causes: corrosion at connection points and voltage loss over undersized or degraded wire. Both are preventable with the right materials going in.
DOT-compliant housings and 100% copper wiring resist the corrosion and resistance buildup that plagues aluminum-blend wire and unsealed splices, particularly on trailers that see road salt or regular boat ramp exposure. Copper conducts better than aluminum at the same gauge, and it doesn’t oxidize into a resistive layer at connection points the way cheaper wire can over a few seasons.
For the actual wiring tasks covered above, a few product categories map directly onto the job:
- A 4-way wiring harness kit with color-coded, pure copper conductors takes the guesswork out of identifying the brake feed during splicing.
- A connector roll built for quick, sealed installation handles splice points without leaving exposed copper.
- A full LED wiring kit rated IP68 waterproof addresses the same submersion and moisture exposure that corrodes cheaper harnesses over time.
If you’re weighing axle and frame configuration for battery box placement, it helps to understand how different trailer designs and axle setups affect available mounting space near the tongue.
An Installer’s Quick Checklist Before You Tow
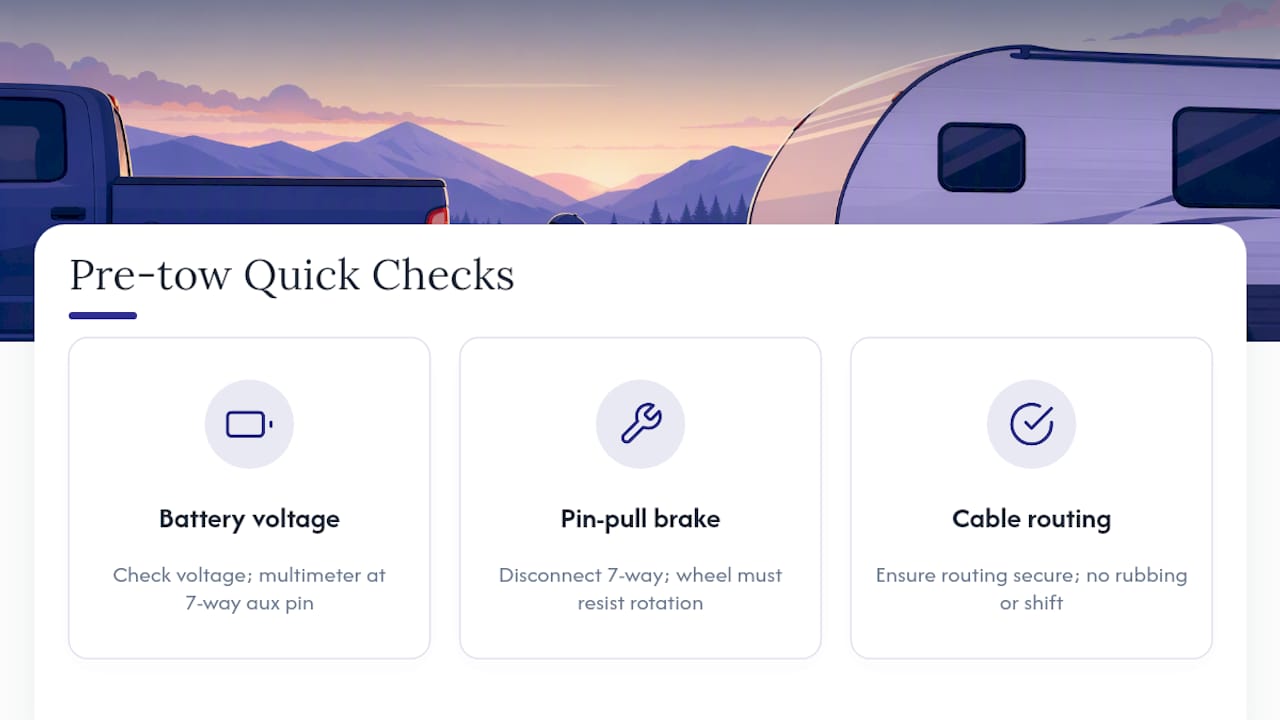
Three things get checked every single time, no exceptions: battery voltage, pin-pull response, and cable routing.
Battery first, because a weak battery makes everything downstream irrelevant. Pin-pull second, with the 7-way disconnected, confirming the wheel resists rotation and holds. Cable secure third, checking the routing hasn’t shifted or started rubbing against anything since the last trip.
Pro Tip: Before a long haul, verify actual charge voltage at the 7-way auxiliary pin with a multimeter rather than trusting the dash indicator light. Some tow vehicles report charging when the auxiliary circuit is barely delivering.
Keep a simple log of battery replacement dates and test results. It takes thirty seconds and it’s the difference between “I think it’s fine” and actually knowing.
— All
The Right Parts Make This Install Foolproof
There are other ways to source trailer wiring components. Generic hardware store connectors work in a pinch, and plenty of installers cobble together whatever wire is on hand. But breakaway wiring is one circuit on your trailer where cutting corners on materials costs more than it saves, since a corroded splice or an undersized wire fails exactly when you need it most.
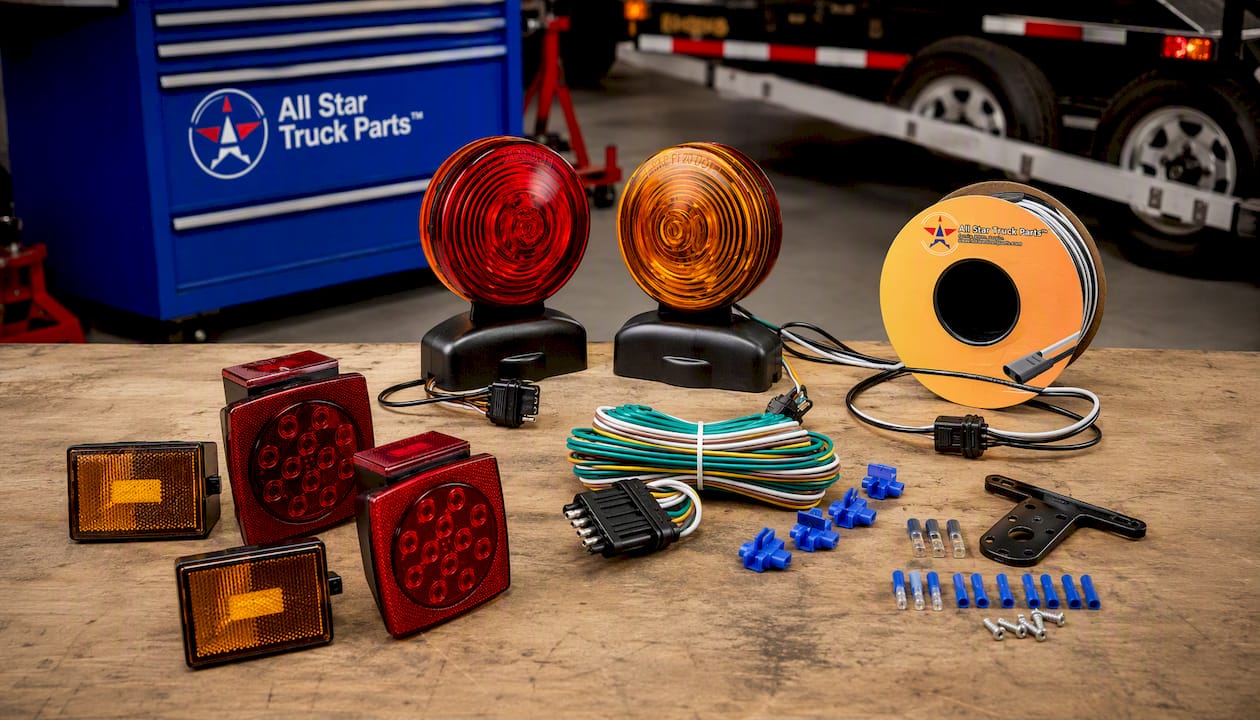
Allstartruckparts stocks the specific components this install calls for, built with 100% copper wiring and DOT-compliant, weatherproof housings instead of the aluminum-blend wire and unsealed connectors that show up in generic kits. For the splice points along your brake feed, the bullet plug connector roll gives you sealed, quick-install connections without hunting for the right heat-shrink size. If you’re rewiring the whole trailer harness at the same time, the 12V LED wiring kit is IP68 rated, which matters if your trailer ever sees a boat ramp or standing water. And for a portable backup during troubleshooting or temporary tow setups, the magnetic trailer light kit mounts in seconds with 55 pounds of magnet strength holding it in place at highway speeds.
When you’re buying, match your wire gauge to your run length, always choose sealed connectors over open crimps, and pick up a battery maintainer if the trailer sits for weeks at a time between trips. Browse the trailer wiring and connector catalog to find the exact parts for your setup and get your breakaway system wired right the first time.
Where Can You Find Manufacturer Wiring Diagrams?
Manufacturer documentation beats any secondhand summary, including this one, for your exact kit’s part numbers and torque specs.
- The CURT installation sheet 52044 covers breakaway battery box wiring in detail, including the parts list, charging circuit diagram, and the critical caution about disconnecting the 7-way before testing.
- Hopkins Towing’s installation instructions lay out the switch-to-brake-feed splice and the box-to-auxiliary wiring diagram step by step, with a full parts list for their breakaway kit.
- For a quick visual walkthrough with photos of a real install, mrtruck.com’s breakaway switch guide covers the pin-pull test procedure and connector recommendations in plain language.
Keep whichever PDF matches your specific kit saved on your phone. You’ll want it again at your next battery swap.
Sources
- CURT installation sheet 52044 (Breakaway battery box wiring)
- Hopkins Towing Trailer Hitches installation instructions (Breakaway kit)
- Mrtruck
FAQ
How Do You Wire a Trailer Breakaway Switch?
Connect one switch lead to the battery’s positive terminal with a sealed ring terminal connection, then splice the other lead into the trailer’s electric brake feed wire, commonly the blue wire, using a waterproof heat-shrink butt connector. Verify both connections with a multimeter before towing.
Does a Trailer Breakaway Switch Need Its Own Battery?
Yes. The breakaway system requires a dedicated battery, usually a 12V 5Ah gel cell in a mounted battery box, separate from the tow vehicle’s electrical system, since it has to trigger the trailer brakes independently the moment separation happens.
How Do You Connect the Trailer Breakaway Cable?
Attach the cable to a dedicated hitch attachment point or clevis on the tow vehicle, never to the safety chains or the hitch ball, and leave enough slack for tight turns while keeping it short enough to pull free before the safety chains reach their limit.
Is There a Positive and Negative on Trailer Brake Magnets?
Trailer brake magnets are polarity sensitive in that they need consistent positive and negative connections to function correctly with the brake controller, but the breakaway switch itself is typically non-polarized, meaning either of its two leads can serve as the battery input side.
Recommended
- Trailer Wiring Harness Kit 4-Way Wishbone Style, Y Style 18AWG Pure Copper Core Color Coded Wire with Standard 4-Pin Flat Plug Connector 4 Female and 2.5 Male for 12V Trailer Boat Marine
- 26 LED Magnetic Trailer Light Kit 2PCS LED Trailer Light Universal Running Brake Turn License Light IP68 Waterproof Adsorbed Magnet 24ft Cable 7-Pin 5-Pin Plug Red Clear Lens
- DOT Compliant 16 LED Jeep Style Universal Tail Brake Turn Stop Back Up Lights for Truck Trailer Boat Jeep etc 12V Stud Mounted Lamps Pack of 2
- Stud Mounted 15 LED Trailer Towing Light Set Red Amber Stop Turn Tail White License Plate IP68 Waterproof DOT Approved Clear Lens Left and Right Side Lights
Related Lighting & Accessories


- $ 26.50
$ 49.95- $ 26.50 Save $ 23.45
- Unit price
- per


- $ 34.50
$ 59.95- $ 34.50 Save $ 25.45
- Unit price
- per


- $ 29.95
$ 49.95- $ 29.95 Save $ 20.00
- Unit price
- per
