


Truck Beam Patterns: Avoid FMVSS Fines with a 25 ft Wall Test
A beam pattern is the spatial map of where a light sends its intensity, measured across a beam axis, a main lobe, and often smaller side lobes. That map, not the lumen number printed on the box, determines how far you see, how wide you see, and how much glare you throw at the truck coming the other way. Get the pattern wrong and no amount of raw brightness fixes it.
TL;DR:
- Proper beam pattern design ensures light is focused where needed, preventing glare and maximizing distance and peripheral visibility, unlike just increasing lumen output.
- Accurate reading of beam angle, candela, and polar plots is essential for choosing fixtures that deliver the intended light spread and intensity for specific tasks.
- Fed regulations require headlights to have sealed, purpose-built assemblies with matched reflectors and LEDs to ensure legal compliance and optimal beam control.
- Mismatched or aftermarket bulbs in designed headlamp housings can cause pattern issues, hot spots, and glare, which simple aiming adjustments may not resolve.
- Prioritizing controlled light distribution with compliant, matched assemblies beats raw lumen count in delivering effective and legal illumination.
Table of Contents
- What Is a Beam Pattern, Anatomically Speaking?
- How Do You Read Beam Angle, Candela, and Polar Plots?
- Which Beam Type Fits Which Job?
- What Do FMVSS No. 108 and NHTSA Say About LED Beams?
- How Do You Check and Fix a Bad Beam Pattern?
- How Compliant Optics Preserve the Right Beam Pattern
- What Should You Actually Prioritize in a Beam Pattern?
- Get Your Truck’s Beam Pattern Back to Spec
- Sources
- FAQ
What Is a Beam Pattern, Anatomically Speaking?
Every headlight, floodlight, or strobe on your truck produces a shape in space, not a uniform glow. That shape has a name in engineering circles, and it’s the same vocabulary used for antennas, acoustics, and photonics: beam pattern, with a main lobe, side lobes, and a beam axis running down the center of the strongest output.
The main lobe is the dominant cone of light doing the actual work: illuminating the road, the loading dock, or the trailer hitch. Side lobes are smaller, weaker spillover zones off to the sides. Some spill is normal and even useful (it fills in your peripheral vision), but oversized or misaligned side lobes are usually what blinds oncoming drivers or washes out your own dash reflection. The beam axis is simply the imaginary line pointing straight down the middle of the main lobe. When installers talk about “aiming” a light, they’re really talking about repositioning that axis.
None of this happens by accident. Three things build the pattern:
- Reflector geometry — parabolic, multi-faceted, or free-form reflectors bend raw LED or bulb light into a controlled cone; the curve dictates how tight or wide that cone spreads.
- Lens design — fluted or ribbed lenses spread light horizontally for width, while clear projector lenses tighten it for throw.
- Emitter placement — where the LED chips sit relative to the reflector’s focal point changes hot-spot location and cutoff sharpness; move an LED chip a few millimeters off-focus and the whole pattern shifts.
When lighting engineers document these shapes, they draw polar plots: circular graphs where distance from the center represents light intensity at each angle. A tight, symmetric blob near the center-top of the plot means a narrow spot beam. A wide, flattened arc means a flood. Isolines (concentric rings on the same plot) show step-downs in intensity, which is how you spot uneven or lopsided output before you ever mount the fixture on a bumper.
How Do You Read Beam Angle, Candela, and Polar Plots?
Spec sheets throw around terms like beam angle, field angle, lumens, and candela as if they’re interchangeable. They aren’t, and mixing them up is the single most common reason people buy the wrong light for the job.
Beam angle is the angle between the two points on either side of the beam axis where intensity drops to 50% of its peak value. Field angle measures the same thing but at the 10% dropoff point, so it’s always a wider number than beam angle for the same fixture. A narrow spot might carry a beam angle of 10° to 30°, while a flood can run 60° to 120°, according to lighting manufacturer specifications on spot versus flood classification. Read a spec sheet that only lists one of the two numbers, and you’re missing half the picture.
Statistic Callout: Equivalent lumen ratings do not guarantee similar spatial distribution. Two fixtures rated at the same total lumen output can throw wildly different amounts of usable light onto a target 100 feet away, based on DOE guidance on LED equivalency.
That’s why candela (often listed as center-beam candlepower, or CBCP) matters more than lumens for distance work. Lumens measure total light output in every direction; candela measures intensity in one specific direction, usually straight down the beam axis. A fixture with fewer total lumens but higher candela will often light up a road sign farther away than a “brighter” fixture that scatters its output wide.
The industry’s standard way to document all of this is the LM-79 photometric report, which includes:
- A polar plot showing luminous intensity distribution at every angle around the beam axis.
- Zonal lumen breakdowns showing how much light lands in each angular zone.
- Peak candela values and the angles at which they occur.
- Total lumen output for reference, but never as the standalone headline number.
Pull an LM-79 report before buying fixtures for a fleet, and you’ll see the real shape of the light instead of guessing from a marketing photo.
Which Beam Type Fits Which Job?
Matching the beam to the task is where most buying mistakes happen. Someone buys a wide flood for highway speed work, wonders why they can’t see past 150 feet, and blames the “cheap LEDs” instead of the optics they chose.
- Spot beams run narrow, usually 10° to 30° in beam angle, and throw light a long way with minimal spread. They’re built for high-speed roads, open highway stretches, and anywhere you need to see a hazard well before you reach it. Mount them high and aimed slightly below the horizon; too high an aim on a narrow spot blinds oncoming traffic almost instantly.
- Flood beams spread wide, often 60° to 120°, and sacrifice reach for coverage. They’re the right call for reversing a trailer, illuminating a work site, or navigating a low-speed off-road trail where peripheral awareness matters more than distance.
- Combo beams blend both optics into one housing, usually with a spot pattern layered over a flood pattern. They’re a practical compromise when mounting space or budget won’t allow separate fixtures, but they rarely match a dedicated spot or flood at either extreme. A combo bar on a work truck covers “good enough” for most tasks without excelling at any single one.
- Driving lights (upper beam supplements) focus forward with a tighter cutoff than a flood, mounted higher for maximum forward distance, while fog lights use a wide, flat pattern with a sharp top cutoff and sit low on the bumper specifically to avoid bouncing light back off airborne moisture. Mounting height and cutoff geometry matter more for fog performance than raw beam width does.
Towing rigs benefit from pairing a spot for the open road with a flood aimed at the hitch and trailer connection point. Off-road trail runners lean flood-heavy for low-speed obstacle awareness. Loading dock crews want flood coverage with minimal glare bouncing off warehouse walls. Fog-prone routes need a dedicated low-mounted fog pattern, not just a dimmed driving light.
Pro Tip: Never substitute a driving light for a fog light just because it’s already mounted low. Driving lights are built to punch forward through clear air; fog lights are built to hug the road surface below the fog layer. Using one for the other’s job usually makes visibility worse, not better.
What Do FMVSS No. 108 and NHTSA Say About LED Beams?
FMVSS No. 108 governs headlamp photometry, color, and steady-burning requirements for every vehicle sold in the United States, and it draws a sharp line between two headlamp categories: integral-beam assemblies and replaceable-bulb assemblies.
- Integral-beam headlamps are complete sealed units where the light source, reflector, and lens are engineered and tested together, and LEDs are permitted as the light source in these assemblies.
- Replaceable-bulb headlamps use a swappable bulb inside a separate housing, and LED replacement bulbs are not currently permitted in that category under federal regulation.
- NHTSA’s own technical guidance confirms this restriction applies to the light source itself, not just the finished product marketing claims made around it, per FMVSS technical publications.
- Regulators test the complete assembly at fixed photometric points, meaning the headlamp as a whole (bulb, reflector, and lens together) has to hit the numbers, not the bulb in isolation.
This is exactly why a drop-in LED bulb marketed as a “direct upgrade” for an old sealed-beam housing can create real problems. The reflector and lens were engineered around a halogen filament’s shape and position. Swap in an LED chip with a different emitter geometry, and the resulting pattern often develops a scattered hot spot, uneven cutoff, or excess glare aimed straight at oncoming drivers, even though the bulb itself is “brighter.” Matching the optical category (integral versus replaceable bulb) to a compliant, purpose-built assembly protects both your beam pattern and your legal standing on the road.
How Do You Check and Fix a Bad Beam Pattern?
You don’t need a photometry lab to catch most beam problems. A flashlight, a tape measure, and a flat wall get you most of the way there.
- Park 25 feet from a flat, vertical wall on level ground, facing it directly, with the vehicle unloaded to a normal ride height.
- Mark the ground at your headlamp centers, then mark those same heights on the wall directly across from each light.
- Turn on low beams and look for the cutoff line. A healthy low beam shows a sharp horizontal cutoff a few inches below the marked headlamp height, with the bright zone offset slightly toward the curb side, not centered or drifting toward oncoming lanes.
- Check for hot spots and dark zones. One bright, tight hot spot with dark rings around it usually means a misfocused emitter or mismatched reflector. A pattern with no clear peak at all often means a blown-out or failing diffuser lens.
- Watch for glare bounce-back off the wall into your own eyes; if it’s uncomfortable at 25 feet, it’s blinding at highway distance to someone else.
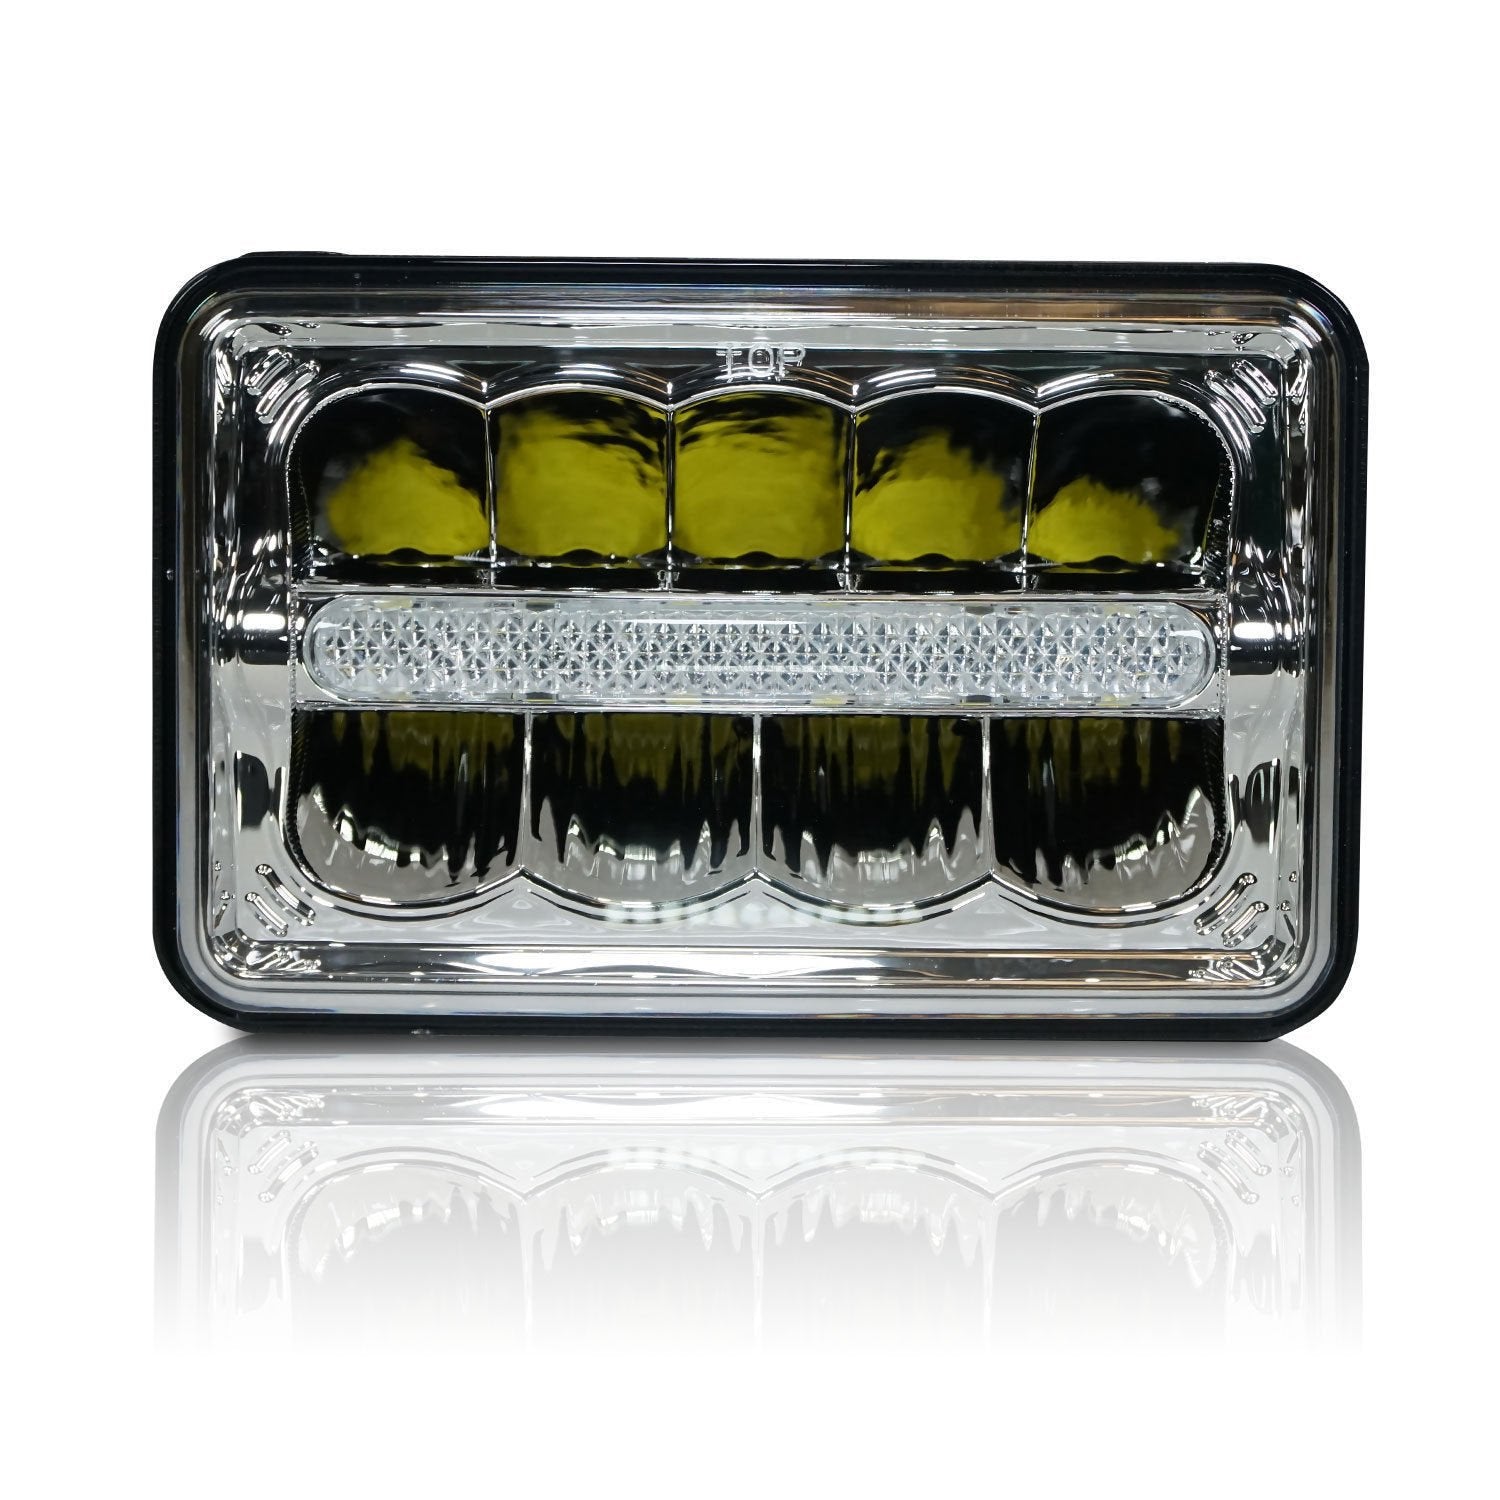
If the cutoff is crooked, uneven side-to-side, or missing entirely, aiming adjustment often solves it, since most housings include vertical and horizontal aim screws. If aiming doesn’t fix an asymmetric or scattered pattern, the housing or bulb combination is usually the real problem, not the angle. Swapping a mismatched aftermarket bulb for a housing engineered as one photometric unit, like the 4x6 inch rectangular replacement, restores the pattern the reflector and lens were actually designed to produce.
Pro Tip: Do the wall test at dusk, not full dark. You’ll see the cutoff line clearly, but you’ll also still be able to spot physical housing damage, cracked lenses, or corrosion that a pitch-black test would hide.
How Compliant Optics Preserve the Right Beam Pattern
Sealed, gasket-lined housings keep moisture out of the reflector cavity, and moisture is one of the fastest ways a beam pattern degrades. Fog or corrosion inside a housing scatters light unevenly, turning a clean cutoff into a hazy smear within a season or two on a truck running gravel roads and wash-downs.
Some lighting manufacturers build their products with leak-proof housings and reflectors designed to exceed DOT standards rather than just meet them. That construction approach shows up across three specific problems readers run into:
- Restoring correct low and high beam pattern: the 4x6 inch LED headlight replacement is built as one photometric unit, so the reflector and LED source are matched from the factory instead of forced together after the fact.
- Conspicuity in low-visibility conditions: the amber strobe light uses a wide flash pattern designed to be seen, not to illuminate, which is a different job than a headlamp entirely.
- Regulated, marked installations: the 6 inch recessed strobe carries DOT/SAE marking for fleets that need documented, code-compliant conspicuity lighting.
If your own beam pattern looks off after the wall test, the next move is simple: measure it, aim it once, and if that doesn’t fix it, replace the assembly with one built as a matched optical unit rather than a mismatched bulb swap.
What Should You Actually Prioritize in a Beam Pattern?
Most buyers chase lumens first and pattern second, and that’s backward. Controlled distribution beats raw output almost every time, because a scattered 10,000 lumen fixture puts less usable light on your actual target than a well aimed 4,000 lumen unit with the right optics.
Compliance matters just as much as control. A pattern that technically throws far but blinds oncoming traffic isn’t a win, it’s a liability, and it’s often the direct result of swapping bulb types the housing wasn’t engineered for.
For fleets running multiple trucks, it’s worth requesting an LM-79 photometric report from a supplier before standardizing on one fixture across a whole yard. And on the vehicle itself, don’t ask one beam to do two jobs: pair a dedicated spot for reach with a dedicated flood for spread, and wire them separately so you control which one fires when conditions change.
— All
Get Your Truck’s Beam Pattern Back to Spec
Choosing products from a provider specializing in sealed, matched headlight, strobe, and reflector assemblies ensures components are built to meet or exceed DOT standards with leak-proof housings and properly matched reflectors.
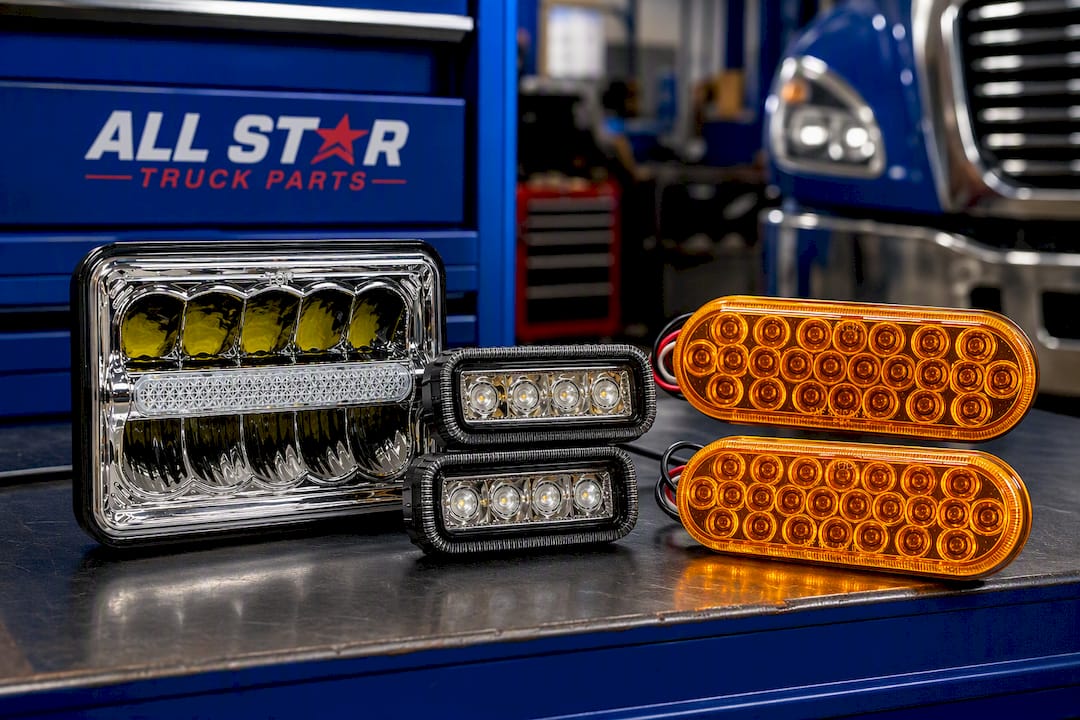
If your wall test showed a scattered hot spot or a crooked cutoff, start with the 4x6 rectangular LED headlight, a direct match for the H4651/H4652/H4656/H4666/H6545 family that restores factory-matched high and low beam patterns instead of forcing an LED into a reflector built for halogen. Need conspicuity instead of forward throw? The amber strobe light and the DOT/SAE marked 6 inch recessed strobe cover towing and regulated fleet marking. Browse the full lighting and wiring catalog to match a compliant assembly to whatever pattern problem the wall test just uncovered.
Sources
- NHTSA interpretation: LED headlights (FMVSS No. 108)
- Establishing LED equivalency (DOE SSL guidance)
- Beam pattern - an overview (ScienceDirect)
FAQ
What Are the 5 Types of Beam Patterns?
The most common types are spot, flood, combo, driving, and fog beams, each defined by beam angle and mounting position rather than brightness. Spot beams run narrow (10° to 30°) for distance, flood beams run wide (60° to 120°) for area coverage, and fog and driving lights add specific cutoff geometry for their conditions, based on beam angle classifications from lighting manufacturer guidance.
What Is the Correct Beam Pattern for a Headlight?
A correct low beam pattern shows a sharp horizontal cutoff below headlamp height, offset toward the curb side, with no glare bouncing back into oncoming lanes. Federal photometry requirements under FMVSS No. 108 set the specific test points a compliant headlamp assembly has to meet.
What Does a 120 Degree Beam Angle Mean?
A 120° beam angle means the light spreads very wide before dropping to half its peak intensity, placing it firmly in flood territory rather than spot. That wide spread is ideal for work-site or reversing lighting, but poor for long-distance road visibility.
How Do I Know if My Bulb Is High Beam or Low Beam?
Check the bulb base code stamped on the connector, or look up your vehicle’s headlamp assembly diagram, since many trucks use separate bulbs or separate filaments for high and low beam. If you’re replacing a sealed unit rather than a single bulb, a matched assembly like the 4x6 headlight replacement already integrates both functions in the correct pattern.
Why Does Beam Pattern Matter More Than Total Lumens?
Lumens measure total light output in every direction, while beam pattern determines how much of that light actually lands where you need it. Two fixtures with identical lumen ratings can perform very differently on the road, since equivalent lumens don’t guarantee equivalent luminous intensity distribution.
